MDP2 Diffusor
Special Offer
Videos
Product Details
Contents:
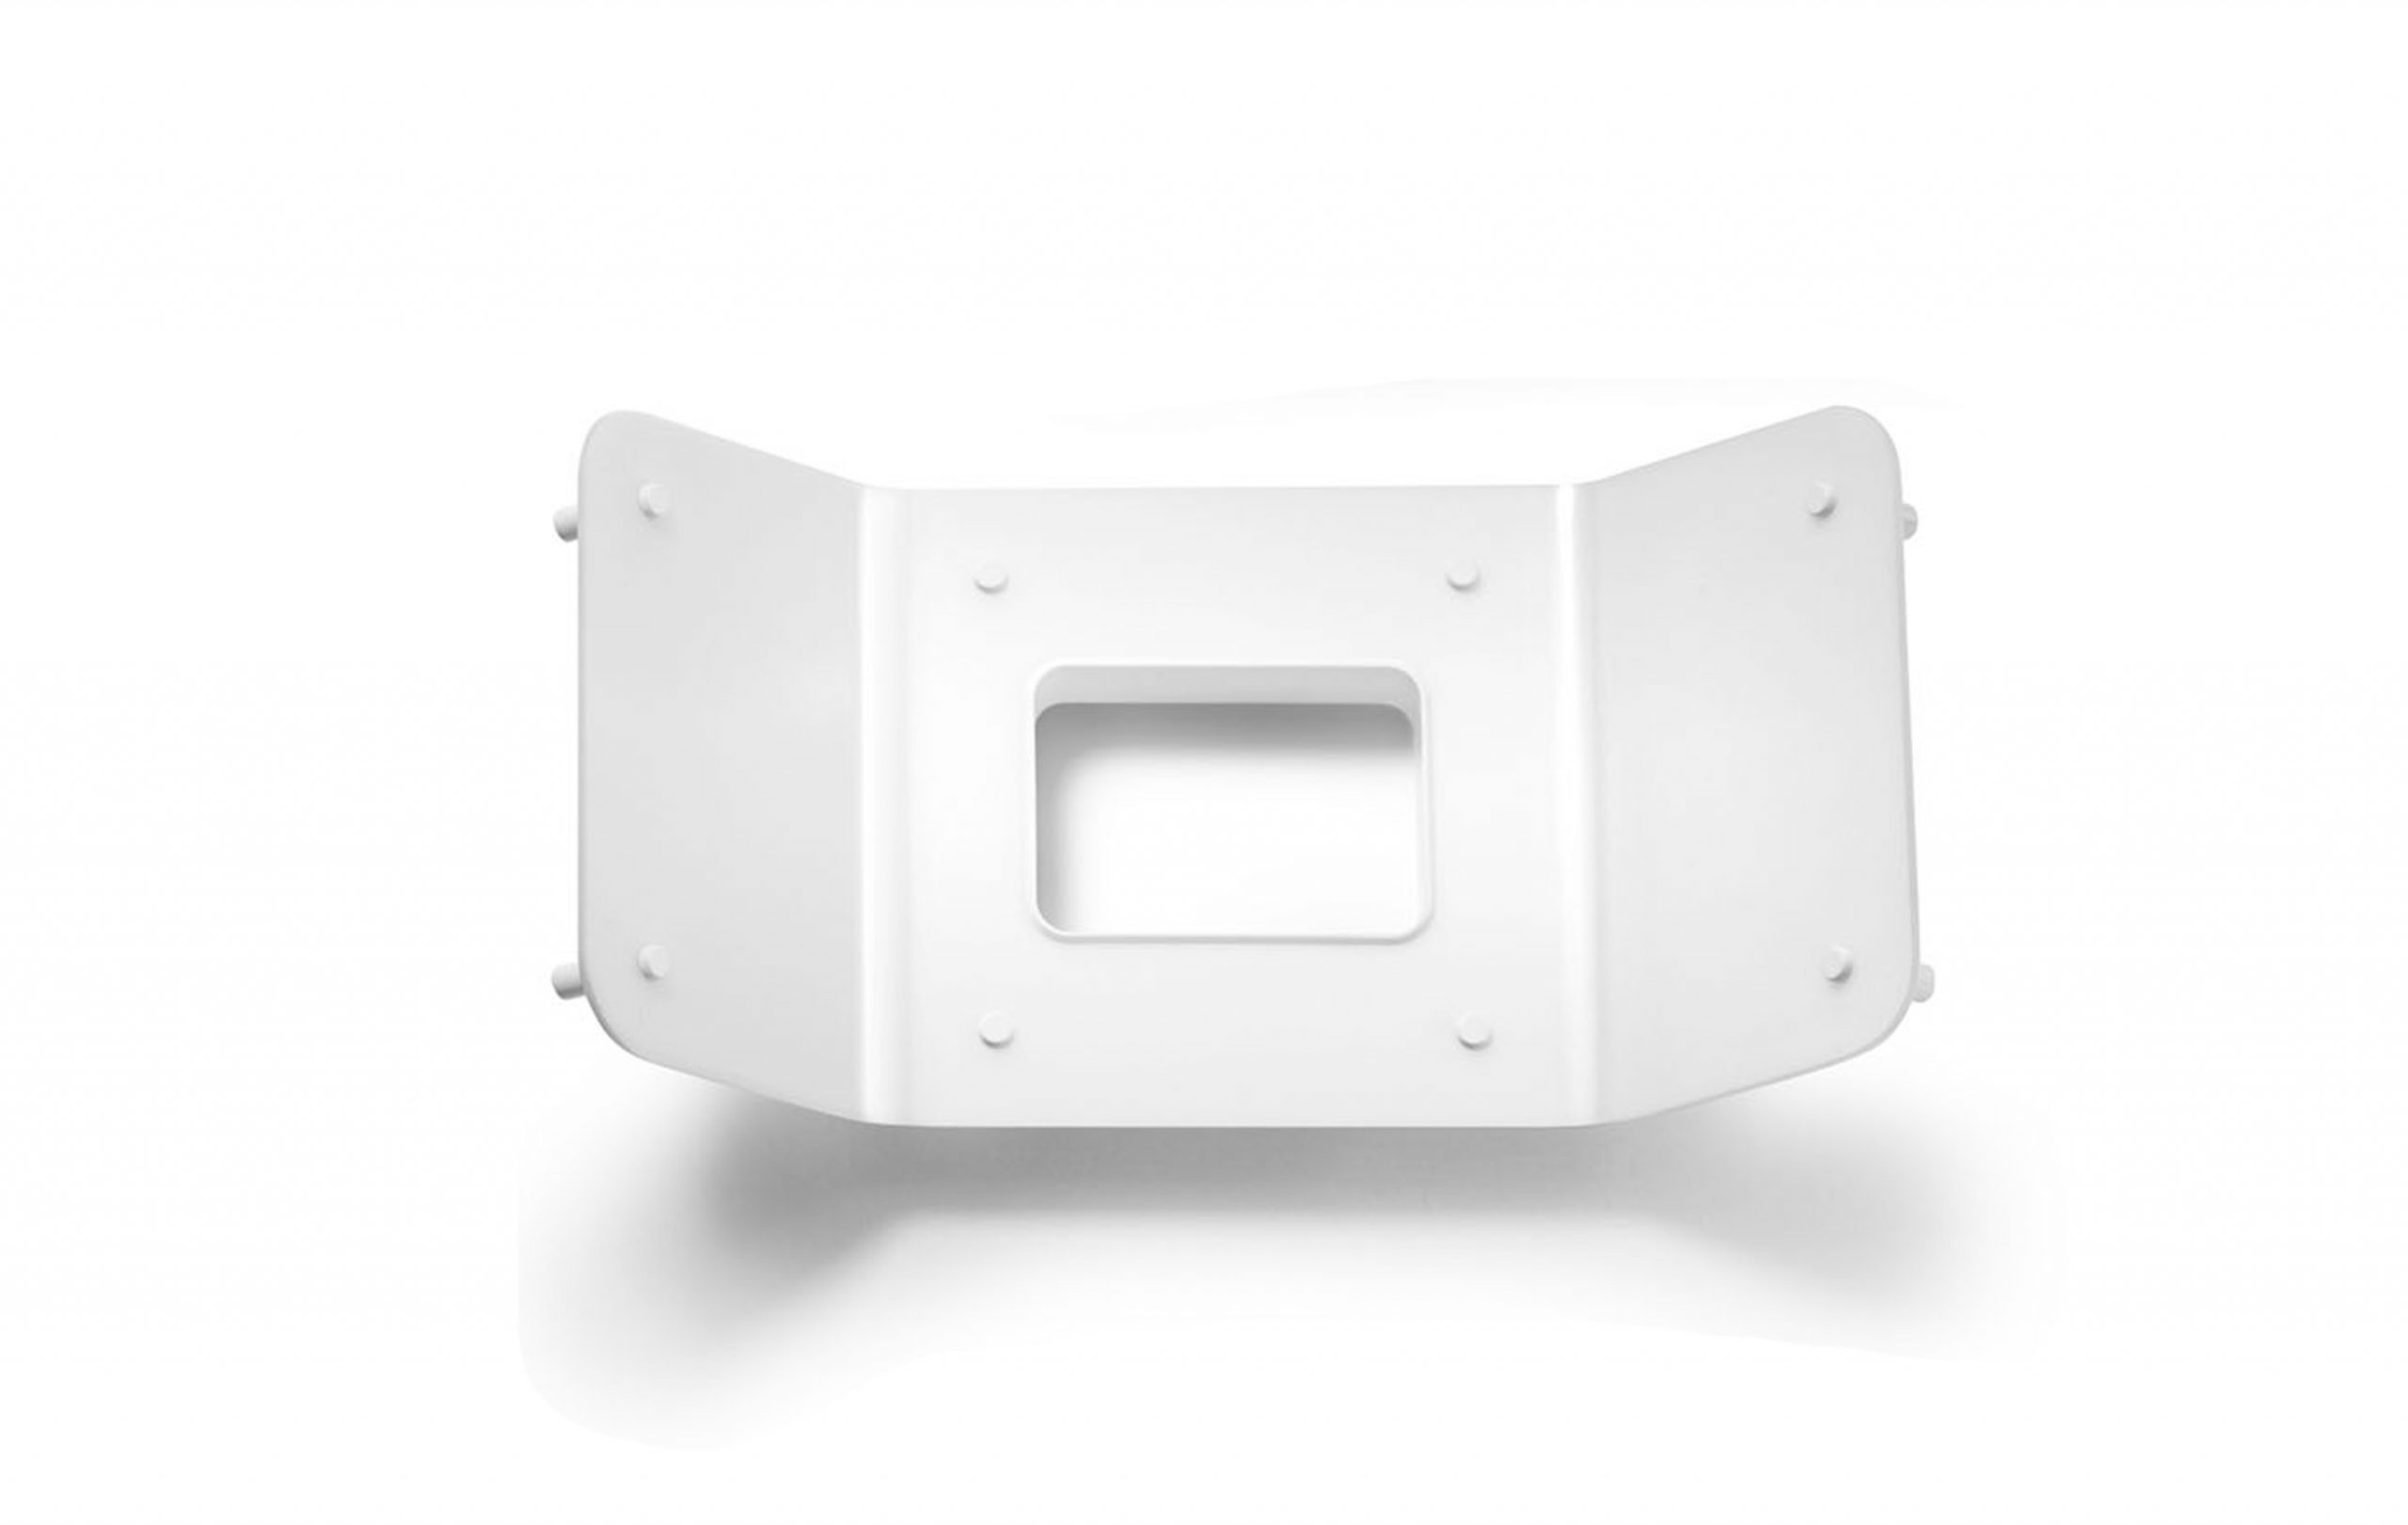
1 x MDP2 Diffusor
The MDP2 Diffusor is great for softening light and making surface texture more prominent.
Hints & Tips
-
When making the comparison with traditional photography with an SLR (single lens reflex) camera, the Smile Lite MDP can be described as a mini photo-studio that is able to cover the major needs of the user for :
- A ring flash - A dual flash - Photography with softbox - Photography with a polarizing filter - Photography using softbox and polarizing filter combined - Short videos -
Recommeded accessories
Diffusers and polarizing filter are recommended accessories as they allow you graeter possibilities for your pictures. Flexipalette contrastors and PhotoCAD retractors are today a must for professional pictures. High quality mirrors (front side mirror) for occlusal views of the teeth. -
Photo shooting distance
Ideal distance may vary depending on the model of smartphone used. Train and make your own experiments for appreciating what is best for your smartphone. This allows you also a better control of light in order to avoid over exposure. An average, 15cm is the suggested distance between camera and teeth to avoid teeth distortion. Being at an average of 15cm from the patient and after having selected the type of light, zoom in on the phone's display in order to see only the teeth and gum. If you feel that light effect is not pleasant, then move forward or backward for the best possible effect. Then tap on the screen for a central focus and shoot. -
Shooting angle for an anterior view
For all anterior views of the teeth, the smartphone must be as parallel as possible to the vestibular side of the teeth, in order to avoid distortion on the picture. -
Anterior view with polarizing filter
Only the central LEDs should be on and at maximum power (important: lateral LEDs are off). For optimal results, other strong sources of light must be avoided (pay attention to outside light/window, scialytic, ceiling light). -
Light settings
Basic setting recommeded for a picture of anterior teeth is lateral LEDs at full power and central LEDs turned off. It is obvious that in some cases, depending on teeth axis or positionning, it will be recommeded to turn on central LEDs at first or second power step. Or even at full power for pictures showing vestibular side of anterior and posterior teeth (orthodontics documentation). Generally speaking it is advised to make your own tests of light setting, with and without diffusers for a better understanding of the possible results. Never use the native flash of your smartphone: it mistakes brightness and color. -
PRO Mode
Each model of smartphone is equipped with a different camera that has a different interpretation of colors. Depending on the model used, it is advised to switch to the PRO-Mode on the camera app in order to get colors that are as close as possible to the reality.
